
How to Install a Truck Bed Liner at Home
Quick Summary
To install a truck bed liner at home, clean and degrease the bed, scuff the metal with a grinder or 80-120 grit sandpaper, mask the trim and lights, then apply a spray-on or roll-on liner in thin coats. Allow each coat to set and the bed to fully cure before loading it.
- Gather a liner kit sized to your full bed, plus a respirator, gloves and eye protection.
- Degrease the bed fully, because oil or wax left behind stops the liner from bonding.
- Scuff the surface to a dull, even texture and remove all dust before coating.
- Apply roll-on liner in multiple coats, waiting the recommended time between each one.
- Avoid cold, damp or windy conditions, which can leave the liner soft or tacky.
Table of Contents
- What You Need Before You Start: Truck Bed Liner Tools and Materials
- Choosing Between Spray-On and Roll-On Bed Liners
- How to Prepare a Truck Bed for Spray-On Bedliner
- Roll-On Truck Bed Liner Application, Step by Step
- Truck Bed Liner Drying and Curing Time, and Weather Conditions
- Troubleshooting Common Bed Liner Application Problems
- Booking a Drop-In Liner or Choosing Your Next Bed Liner Upgrade
- Frequently Asked Questions
What You Need Before You Start: Truck Bed Liner Tools and Materials
Installing a truck bed liner at home can be a weekend job, but only if you have the right supplies before you start. Missing tools and rushed prep steps are common causes of problems. Gather everything first, then start the work.
For a spray-on or roll-on kit, plan on the following:
- Liner kit: Confirm the kit covers your full bed size, including the tailgate and wheel wells.
- Angle grinder or sander: Use a fiber cup brush or 80-120 grit disc to scuff the surface.
- Degreaser and clean rags: Remove oil, wax and road grime before any coating touches the metal.
- Masking tape and plastic sheeting: Cover paint, trim, lights and the cab.
- Respirator, gloves and eye protection: Liner fumes are strong, and the spray can splash.
- Roller or brush (for roll-on kits): Pick a short-nap roller rated for solvent-based coatings.
A common mistake is buying a kit that is too small for the bed. Measure the bed floor, walls and tailgate, then compare those numbers to the kit's coverage listing before you order.
Watch out: skipping the respirator is the most dangerous shortcut in this job. Spray-on liners release vapours that can irritate your lungs and eyes in an enclosed space.
Choosing Between Spray-On and Roll-On Bed Liners
Spray-on and roll-on liners both bond to the bed, but they differ in equipment, texture, durability, and how forgiving they are for a first-time installer. A third option, the drop-in liner, skips coating work entirely. Compare the options before you buy a kit.
| Factor | Spray-On | Roll-On | Drop-In |
|---|---|---|---|
| Equipment | Spray gun and compressor, plus a dedicated spray area | Roller, brush, and mixing sticks | None beyond basic hand tools |
| Texture | Rough, grippy, factory-like | Smoother, thinner coat that follows the bed's contours | Molded plastic or rubber surface, often ribbed |
| Durability | High; bonds directly to prepared metal | Moderate; wears faster in high-traffic spots | High against impact, but can rub paint underneath |
| Skill needed | Moderate to high; gun setup and technique matter | Low to moderate; forgiving for beginners | Low; installs in under an hour |
| Best for | Heavy hauling, gravel, tools | Light to moderate use, clean look | Owners who want a reversible upgrade |
| Reversible | No; requires stripping to remove | No; requires stripping to remove | Yes; lifts out cleanly |
Consider your truck's use before you choose. If you haul gravel or tools daily, the textured finish of a spray-on liner may suit you better. If you want a clean look with fewer tools, roll-on is usually the easier route.
A common pattern is that first-time installers underestimate the spray-on learning curve. Gun distance, overlap, and trigger control all affect texture, and a compressor that cannot sustain the required pressure will produce a splattered finish.
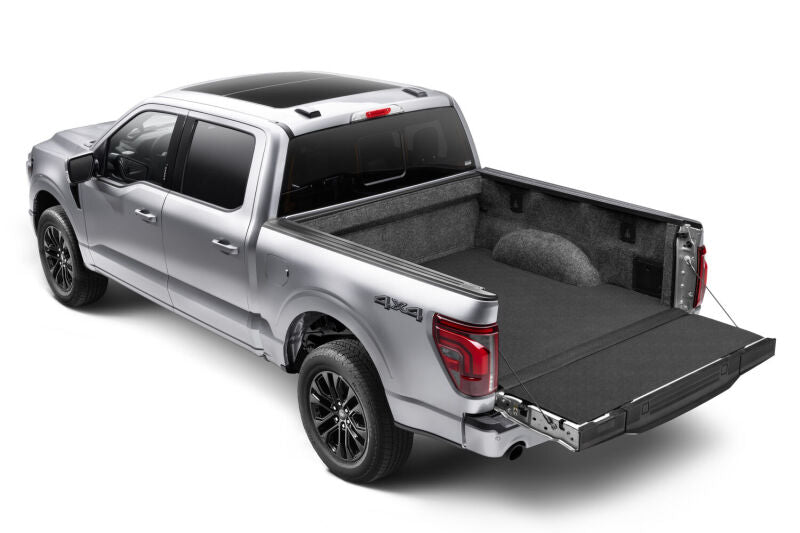
Some owners skip coated liners in favour of a drop-in liner. A drop-in liner, such as those from Husky Liners, fits the bed without any coating work. You can browse our bed liner options if you want to compare a fitted product against a home-applied coating.
How to Prepare a Truck Bed for Spray-On Bedliner
Preparation decides how well the coating bonds. Rush this stage and the liner can peel within months. Work through the steps in order.
Clearing the Bed and Removing Accessories
Empty the bed completely. Remove the tailgate, tie-down anchors, toolbox, floor mats and any removable accessories that sit in the bed. Store them somewhere dry so they do not get coated by accident.
Check the bed for any loose hardware or wiring. Tuck away any cables that run along the floor.
Cleaning, Degreasing, and Scuffing the Surface
Wash the bed with soap and water first. Then wipe the surface with a degreaser and a clean rag. Oil and wax leave a film that stops the liner from bonding.
Next, scuff the surface. Use an angle grinder with a fiber cup brush, or sand with 80-120 grit paper. The goal is a dull, even texture across the whole bed. Shiny spots mean you missed a section.
Repair any rust, dents or deep scratches before you coat the bed. Grind rust back to bare metal, then treat it with a rust converter. Fill major dents so the floor sits flat.
Watch out: do not skip the final dust removal. Blow out or vacuum the bed, then wipe it once more. Dust left behind will show up as bumps under the liner.
Masking Paint, Trim, and Lights
Mask everything you do not want coated. Cover the cab, wheel wells, rear lights and any painted surface you want to keep. Use painter's tape along edges and plastic sheeting over larger areas.
Tape over the lights, the bed-side vents and the license plate area. Overspray on lights causes problems later, so take your time here.
Roll-On Truck Bed Liner Application, Step by Step
Roll-on application is the most approachable method for a home installer. Work in a well-ventilated space and keep the temperature in the range the product label lists.
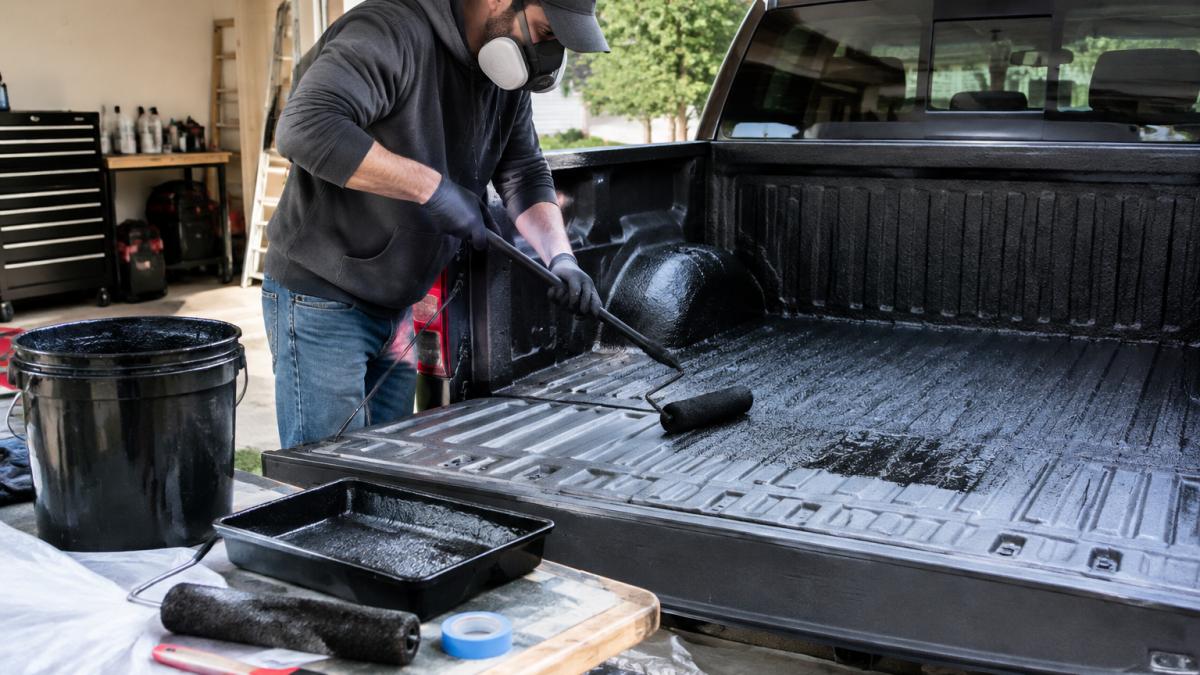
- Mix the liner. Stir the kit thoroughly according to the instructions. Do not thin it unless the label allows it.
- Apply a first coat to the floor. Use a roller in long, even strokes. Work from the front of the bed toward the tailgate.
- Move to the walls. Use a brush for corners and edges where the roller cannot reach.
- Let the first coat set. Check the label for the recommended wait time before adding a second coat.
- Apply a second coat. Use the same method, overlapping strokes slightly to avoid thin spots.
- Check for coverage. Look at the bed under good light and touch up any thin or missed patches.
Most roll-on kits need multiple coats. Check the product sheet for the exact count.
Truck Bed Liner Drying and Curing Time, and Weather Conditions
Drying and curing are two different stages, and the gap between them is where most rushed installs fail. A liner can feel dry to the touch within a few hours while still being soft underneath. Avoid loading the bed until the product has fully cured.
Most roll-on and spray-on kits follow a similar pattern: a touch-dry window measured in hours, a recoat window before the next coat, and a full-cure window measured in days. Always use the times printed on your kit, because they vary by product and by temperature.
Weather and workspace conditions decide whether the coating bonds and cures evenly. Keep these in mind:
- Temperature: Work within the range printed on the kit, and bring the bed surface into that range, not just the air. Cold metal prevents proper bonding and slows curing considerably.
- Humidity: High moisture can cause blushing or a cloudy finish, and it extends cure time. Aim for the lower end of the kit's humidity range.
- Ventilation: Open doors and use fans to move fumes out, but keep dust from settling on the wet coating. A garage with the door cracked and a box fan at the opening is a common setup.
- Dust: Sanding and grinding leave fine dust that settles on every surface. Wipe down the workspace and the bed again after prep, and avoid working near open doors on windy days.
- Sunlight: Direct sun can cause the coating to set unevenly. Cure the bed in a shaded, dry space whenever possible.
Watch out: cold, damp weather is the most common cause of a soft or tacky liner days after application. If your workspace cannot hold the kit's temperature range, wait for better conditions rather than risking a failed bond.
Aftercare matters as much as the cure. Keep pets and kids away from the area until the surface is fully hard. Once cured, clean the liner with mild soap and water rather than harsh solvents, inspect high-wear areas like the tailgate and wheel wells for thinning, and touch up worn spots before they reach the metal.
Troubleshooting Common Bed Liner Application Problems
Most application problems have a clear cause. Use this list to identify and fix the issue.
- Peeling or lifting edges: The surface was not cleaned or scuffed enough. Strip the affected area and redo the prep.
- Bubbles or pinholes: Moisture or air trapped in the coating. Apply in cooler, drier conditions and roll out air pockets quickly.
- Uneven texture: Inconsistent coverage or a thin coat in spots. Add a light touch-up coat where needed.
- Streaks or roller marks: The coat dried before you smoothed it. Work in smaller sections and keep a wet edge.
- Liner not bonding: Oil or wax left on the bed. Degrease again and scuff before recoating.
A common mistake is adding a second coat before the first has set. This traps solvents and causes soft spots. Wait the full recommended time.
If the problem covers a large area, it is often faster to strip and restart than to patch. Plan for that possibility before you commit to the job.
Booking a Drop-In Liner or Choosing Your Next Bed Liner Upgrade
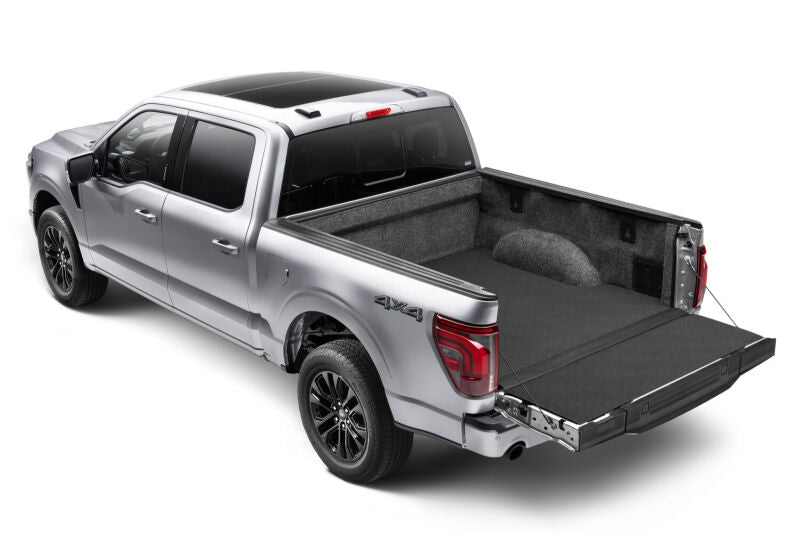
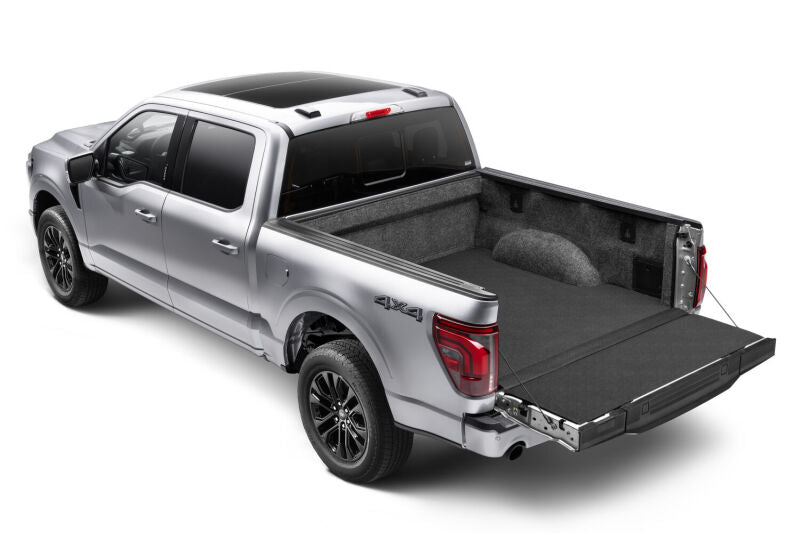
If a home-applied coating feels like too much work, a drop-in liner is a solid alternative. Drop-in liners need no mixing, curing or masking, and they remove cleanly when you sell the truck. Husky Liners' Guardian Impact line, for example, is built for heavy hauling and is backed by a lifetime warranty.
Fit matters most. Choose a liner made for your exact truck and bed length, because a mismatched size leaves gaps where debris can collect. Our fitted options cover several popular models:
- Husky Liners 19-25 RAM 1500 Guardian Impact Bed Liner, for RAM 1500 owners on the new body style
- Husky Liners 15-26 Ford F-150 Guardian Impact Bed Liner, for F-150 owners with a 5.5ft bed
- Husky Liners 17-23 Ford F-250/350 Guardian Impact Bed Liner, for Super Duty trucks
Before you buy, compare the cost of a drop-in liner against the cost of your time and materials for a spray-on or roll-on job. For most owners who want a clean, reversible upgrade, the drop-in route is the simpler choice.
For more on picking upgrades for your truck, read our buyer's guide to truck performance parts.
Frequently Asked Questions
Can you install a truck bed liner at home?
Yes. A roll-on or spray-on truck bed liner kit can be applied in a home garage or driveway with basic tools. Success depends mostly on preparation: the bed must be cleaned, degreased, scuffed and masked properly before any product goes on. Work in mild, dry conditions, wear a respirator and gloves, and plan for a full weekend so each coat can dry fully before the next one is applied.
How long does a DIY truck bed liner take to dry?
Most roll-on bed liners are dry to the touch within a few hours, but they need a longer curing period before the bed can be loaded. Manufacturers typically specify curing times on the product label, so follow those before light or heavy use. Drying times vary with temperature and humidity, so check the product label and avoid applying in cold or damp weather.
Is a roll-on or spray-on bed liner easier to install?
Roll-on liners are generally easier for a first-time DIYer because they require no spray gun or compressor. You apply the material with a roller or brush, which gives more control and less overspray. Spray-on liners can produce a more textured finish but need specialized equipment and more practice to get even coverage.
What tools do you need to install a DIY truck bed liner?
You will need a grinder with a fiber cup brush or sanding disc, degreaser, a shop vacuum, masking tape and paper, a mixing drill and paddle, rollers or brushes, a respirator, and gloves. For a more complete plan of what to gather before you start, see the tools and materials section above. A drop-in liner such as the Husky Liners Guardian Impact requires no mixing or curing, though it is a different type of product.

